Installing CentOS and DC/OS
With all my hardware setup, I need to install an OS and then setup DC/OS. The DC/OS installation scripts are somewhat limited in what they will operate with out of the box, primarily CentOS and CoreOS. CentOS is a little more in line with what I need right now, so I've decided to do that.
Installing CentOS
I chose to do a minimal installation of CentOS and add from there. I went back and forth on installing via PXE or USB and decided to go with the USB installation because I already had the CentOS ISO written to a USB stick.
After getting everything up and running, I did go back and configure my Synology to act as a PXE boot server and that has worked out pretty well. I'll do another post on that later.
Setup SSH Keys
Once I had everything setup, I went ahead and added my SSH keys to the server. This turned out to be a good thing to do, as the DC/OS installation makes use of SSH keys to remotely connect to the nodes you'll be configuring, so go ahead and do that now for the user you plan on installing DC/OS with. I used ssh-copy-id, which isn't installed by default on MacOS X, but is super easy to install with homebrew. If you'd like to do that, it's as easy as:
$ brew install ssh-copy-id
Network Configuration
I also went ahead and configured the CentOS machines to use static IP addresses. DC/OS runs into issues when the IP addresses change, so DHCP wasn't really an option in this case. I've configured my DHCP server to exclude a range of IP addresses, so I allocated three from that range to these servers. I also setup a DNS server on my Synology NAS and configured them to use that DNS to make things a little easier.
Installing DC/OS Requirements
With my CentOS installs ready, I needed to start installing the prerequisites for DC/OS. For my setup, I was going with one bootstrap node, one master and one public agent. I'm planning on adding additional agents later with some additional Intel NUCs that I've ordered. The installation of the requirements is really pretty straight forward: Python (2.7) and Docker. The DC/OS installation process will actually take care of installing the other dependencies for you.
My DC/OS installation is going to use the GUI installation method, and you can find the complete list of prereqs in the DC/OS docs. I should note that I didn't actually meet all the requirements in terms of hardware and my DC/OS instance is running OK for my lab needs.
Python, Pip, Virtualenv
My CentOS 7 installation did come with compatible version of Python, so that pre-req was already satisfied. Next, you'll need to install pip and virtualenv so that the bootstrap process can install the other dependencies, along with the DC/OS components. My CentOS installation did not come with pip, so here are the steps I followed to get pip running. I decided to use yum to install pip, but you could take an alternate approach.
$ yum install epel-release

$ yum -y update

$ yum install python-pip
This installed a somewhat old version of pip install, so I also went ahead and did a pip upgrade using pip.
pip install --upgrade pip
The last Python related dependency was virtualenv, and I went ahead and installed that with pip as well.
pip install virtualenv
Docker
Next, we need to install Docker on all the nodes. CentOS doesn't come with Docker installed and the yum repo that it's configured with comes with a pretty old version of Docker. Luckily, the CentOS installation guide is pretty detailed. The only major deviation for me was I decided to use systemd to manager Docker.
systemctl enable docker
systemctl start docker
By default, will also use devicemapper with a thin-pool as the storage driver, which will cause the DC/OS preflight checks to fail and is generally not recommended. Instead, it was easier to use the overlay driver in my case vs configuring LVM2 with devicemapper. Here is my systemd drop-in.
[root@dcos-agent-1 ~]# more /etc/systemd/system/docker.service.d/override.conf
[Service]
ExecStart=
ExecStart=/usr/bin/docker daemon --storage-driver=overlay -H fd://
DC/OS Install
With Python and Docker installed, I moved on to the DC/OS install. Following the GUI instructions was mostly straight forward, however it requires a network discovery script for the local/custom installation I was doing. To create a network discovery script, I followed the guidelines from the CLI install
Next, I made a directory to hold the dcos-install script and used curl to download it.
$ mkdir -p /tmp/dcos-install
$ cd /tmp/dcos-install
$ curl -O https://downloads.dcos.io/dcos/EarlyAccess/dcos_generate_config.sh
$bash dcos_generate_config.sh --web
Once that was done, I launched Chrome and pointed at my bootstrap node on port 9000.
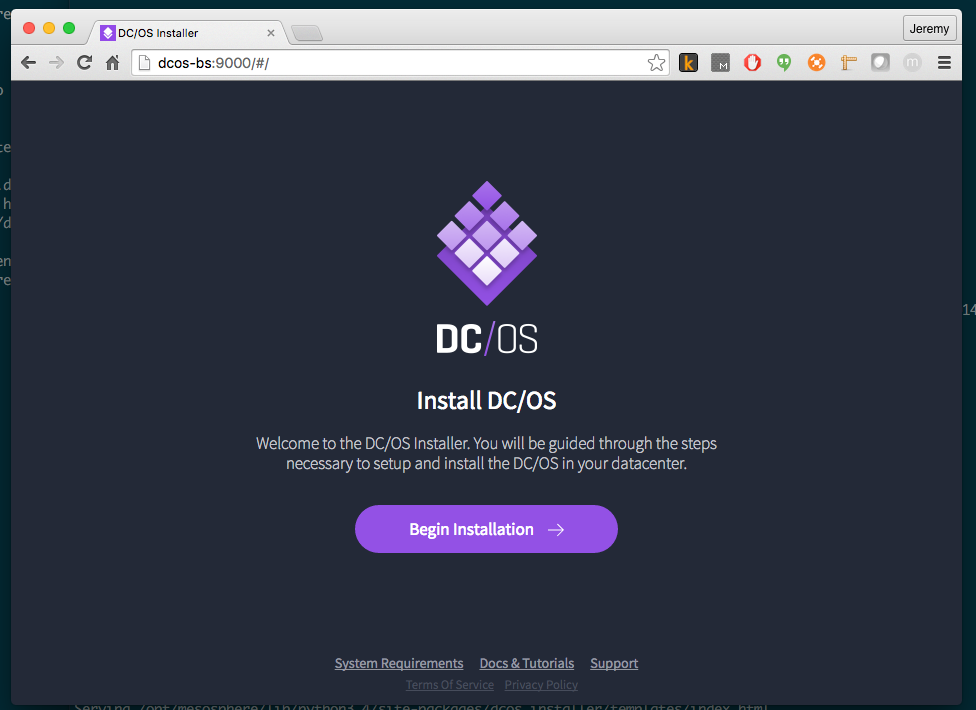
Launching this wizard takes you to an installation form.
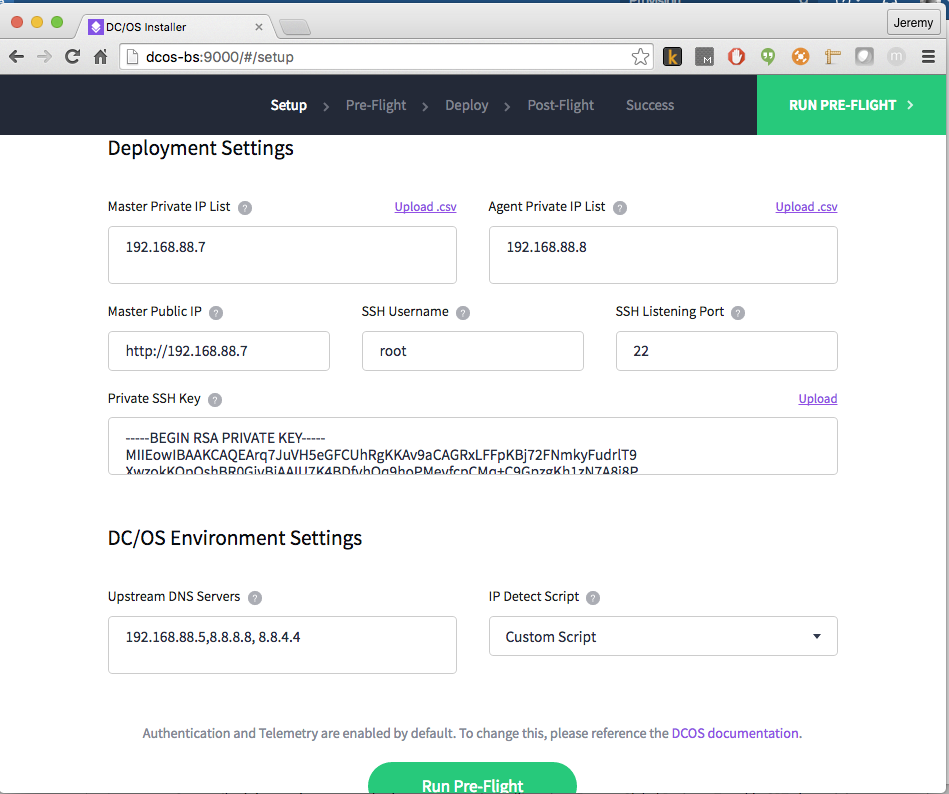
Complete the form, populating everything with config specific to your environment. As you can see, this will ask you for the ssh key and the IP detection script I mentioned earlier. One annoying thing about the form is the error checking seems to only trigger when modifying a given box, so I needed to go back and change some values to get the verification to retrigger. Once everything is entered, click the Run Pre-Flight button. This will start the Pre Flight checks, which could take some time.
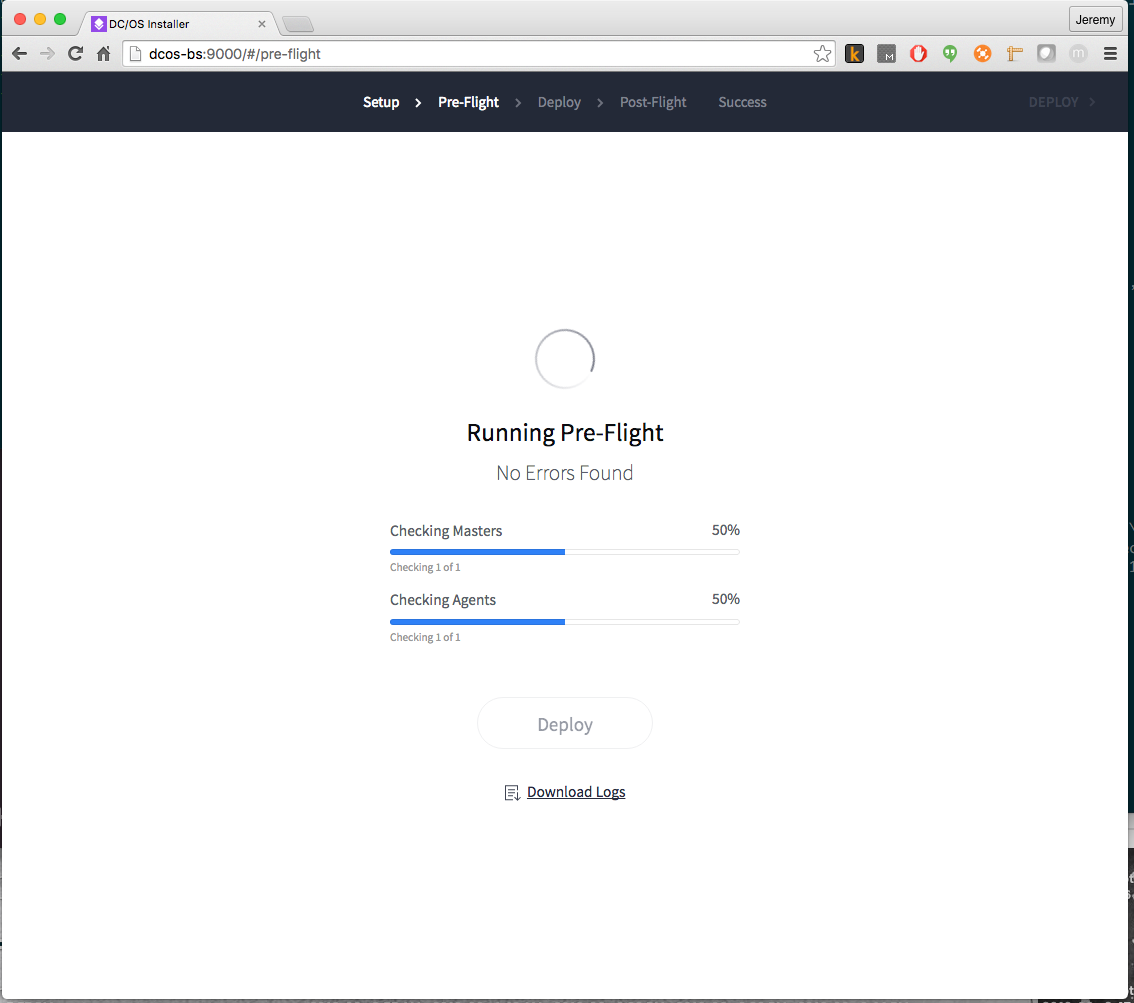
If all goes well, you should see the following.
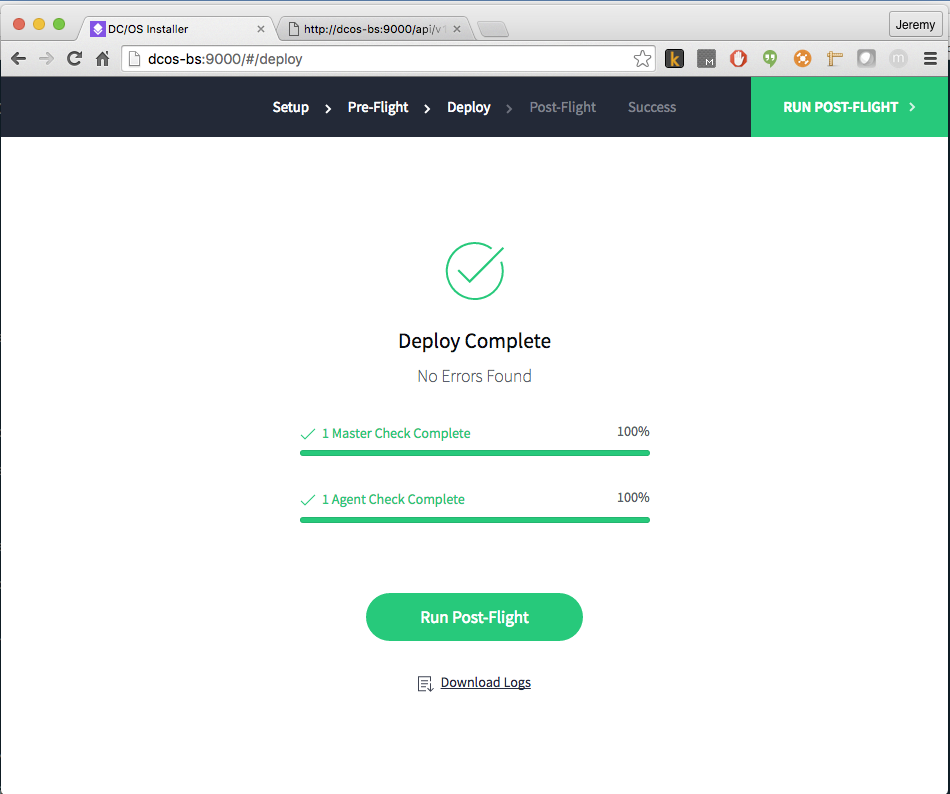
For me, I did not see that screen the first time I tried to run the pre-flight. Fix any errors and try again. For me it was the use of devicemapper with thin-pool storage. Once I changed to the overlay storage driver, I was all set.
Finally you can deploy the DC/OS cluster and run the post-flight checks.
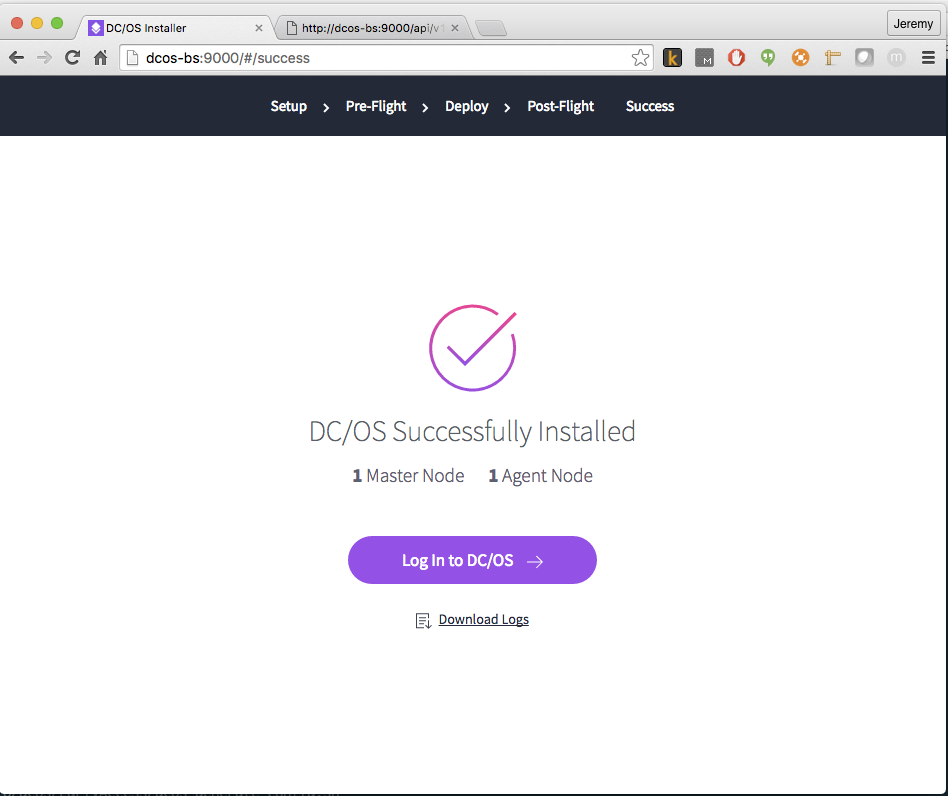
Now, you can try and login to your DC/OS install. In my case, it actually took several minutes from when it was complete in the installer GUI to when it was available in the browser. DC/OS will use a number of external authentication sources, I chose to use my Google account.
Here is what it looks like now, with a couple of tasks running via Marathon.
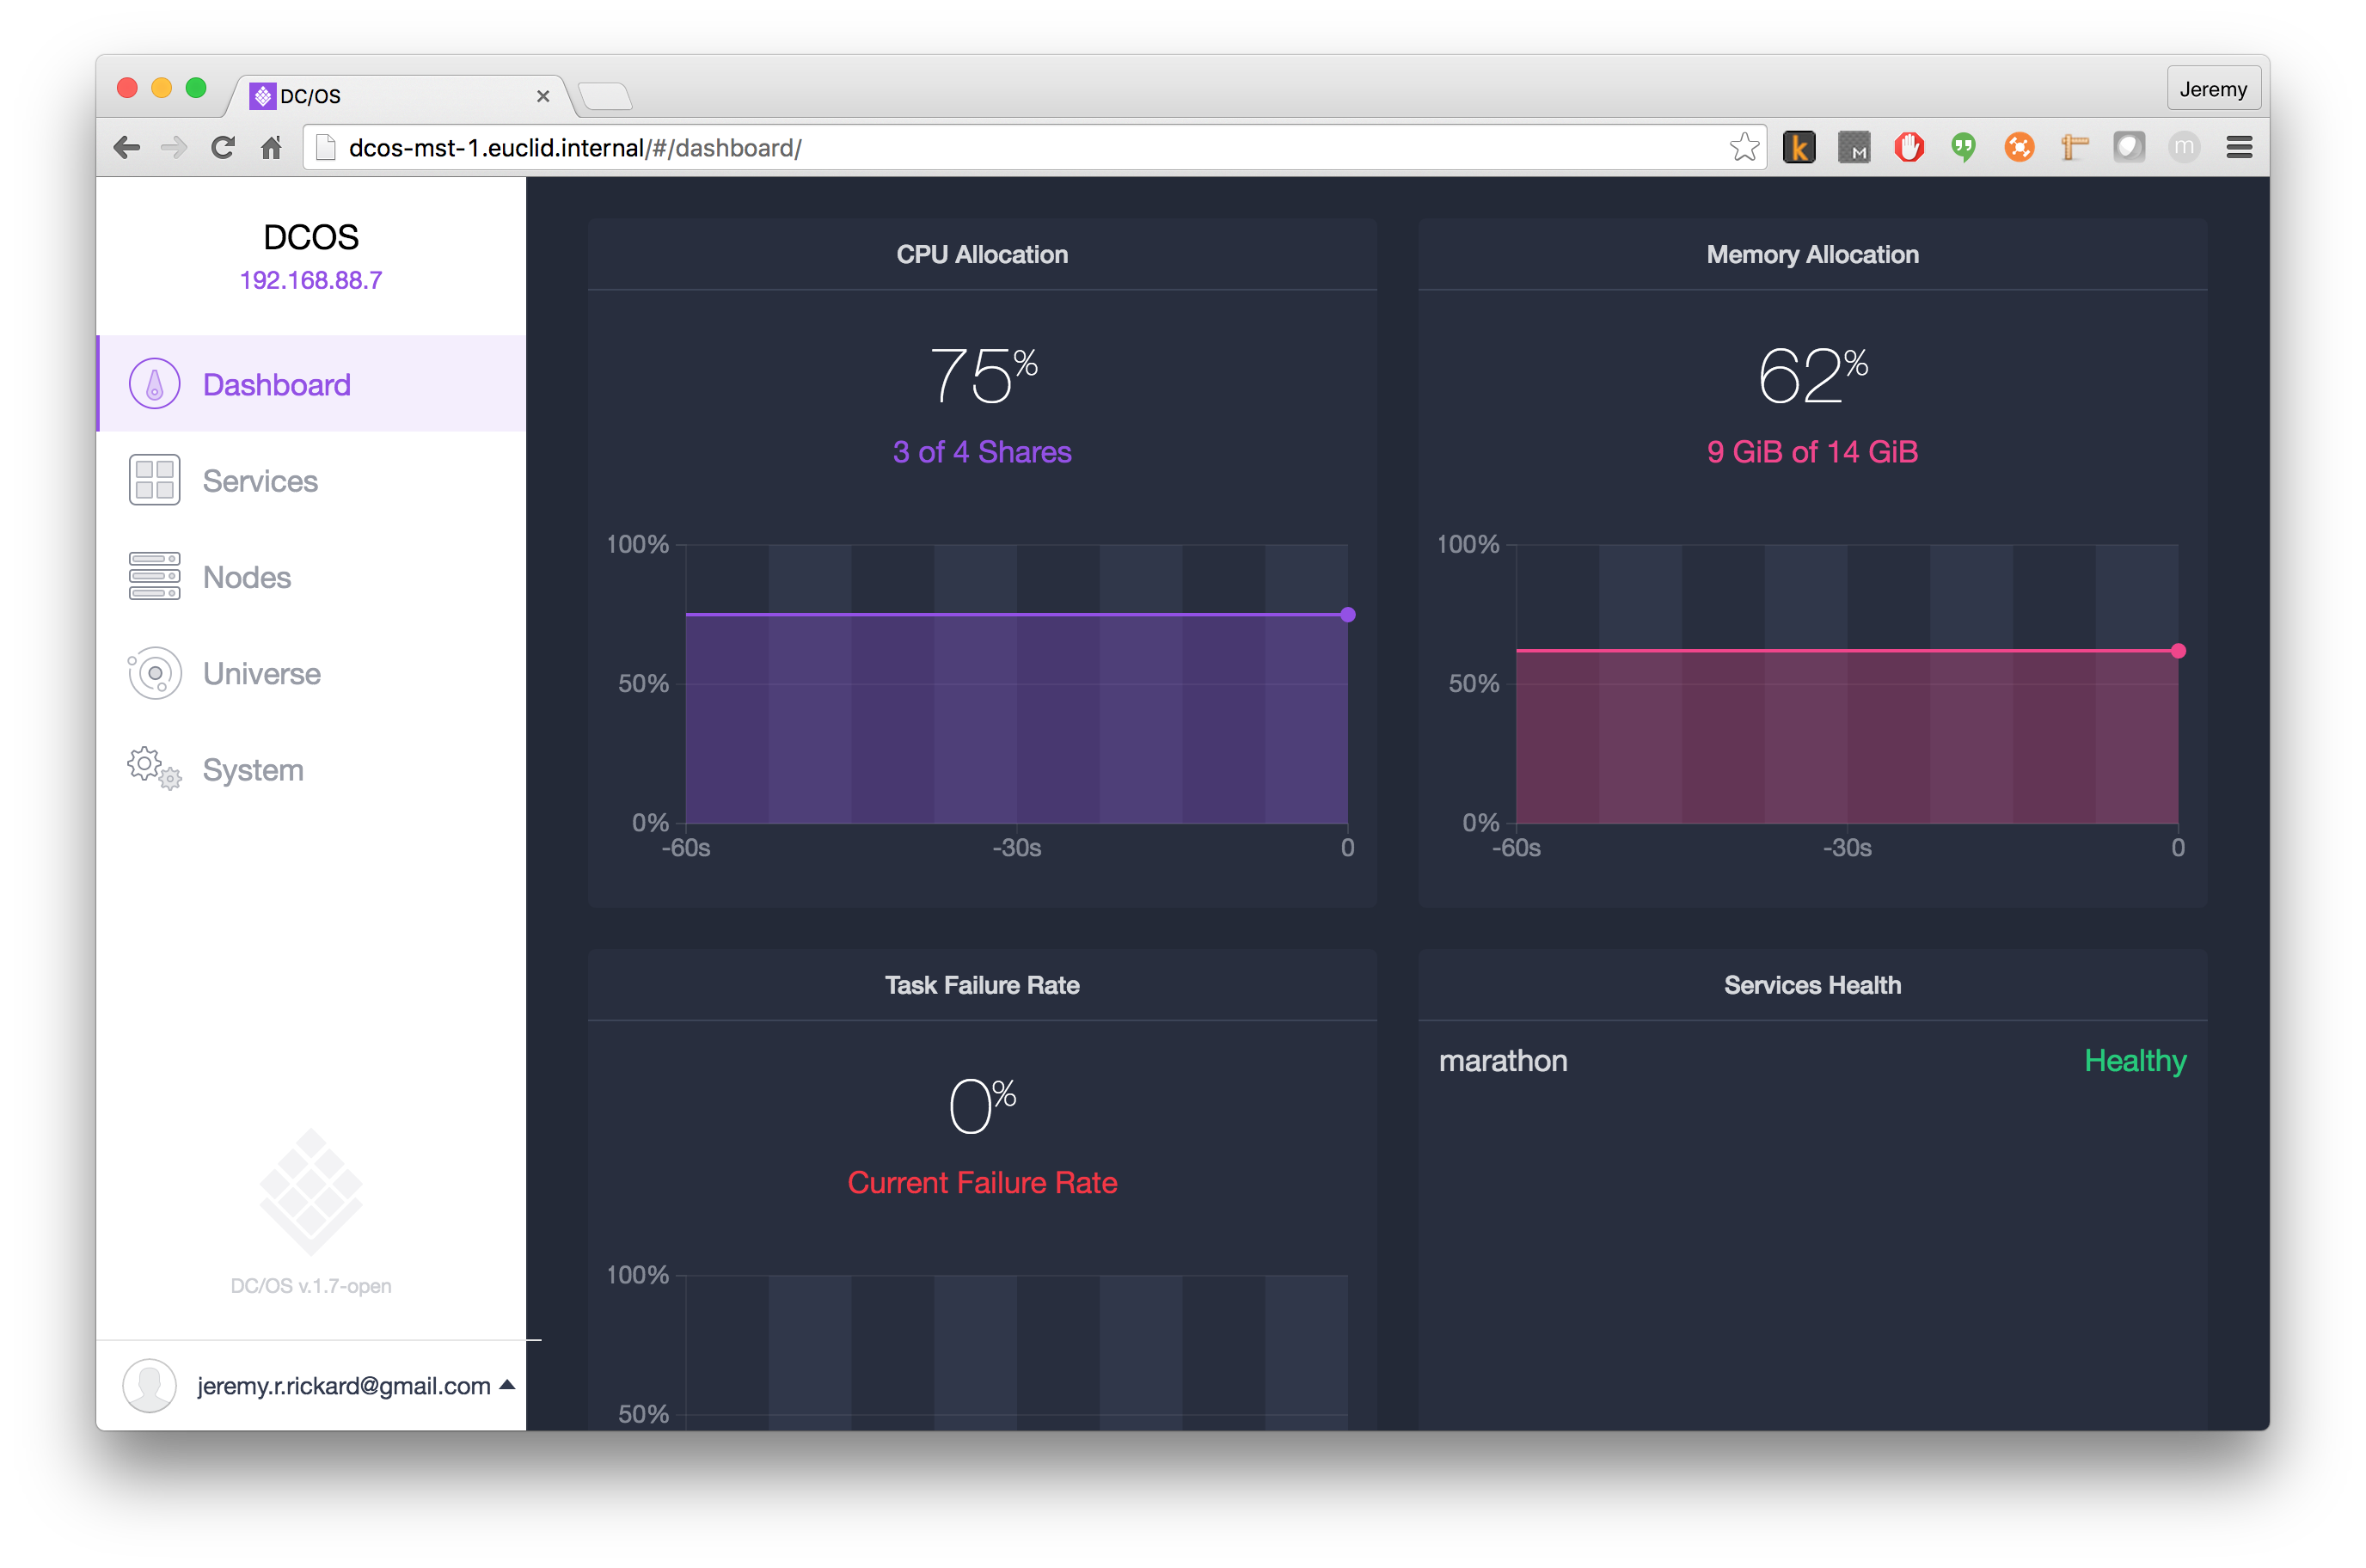
This is a pretty minimal installation, no custom configuration needed in my case. But it was pretty easy to get up and running and I can use it for testing code I'm currently working on and can run several instances of our application. Adding public agents should be pretty straight forward once my new hardware arrives, giving me the ability to run even more workload.
DCOS Uninstall
If you're like me, and something goes wrong and you want to start over, you first need to uninstall DC/OS. This is done by:
$ bash dcos_generate_config.sh --uninstall